Today we are going to show you how to migrate Windows secondary DNS from a Windows 2012 R2 server to Windows 2022 Server including the zones files. Our new server will have a new IP address, therefore we will need to update the DNS zones to reflect this after the migration.
This process will work with most Windows versions, including Windows 2008, 2008 R2, 2012, 2012 R2, 2016 and 2019.
Secondary zones are useful for replicating the primary zone databases and for creating redundancy. You can have more than one secondary DNS server which means you can geographically place servers in different locations. This is especially useful if you are providing an internet DNS service.
Whether you think you can or you think you can’t, you’re right.
Henry Ford
Requirements
- A source server to migrate from
- A new server to migrate to
- Administrator access to the server
Windows 2012 R2 is end of life Oct 10th 2023, from this date there will be no further patches or technical support available. This means if you haven’t migrated to a newer supported operating system, you are leaving your systems vulnerable to cyber-attacks.
You can read the full lifecycle here.
It only takes one system to be vulnerable for an attacker to enter into your network, therefore if you have a large estate running Windows 2012, you must plan to migrate now.
Our team of engineers can help throughout the migration process, or we can manage the full migration for you. Please contact us for further information.
Before You Begin
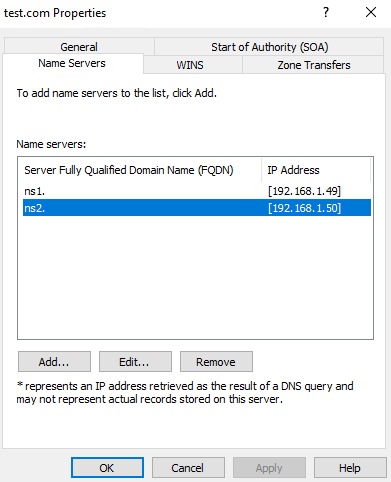
For the purpose of this guide, we have 2 name servers;
ns1.test.com   192.168.1.49
ns2.test.com   192.168.1.50
We will be migrating ns2.test.com to a new server with IP 192.168.1.51.
Login to your Windows 2012 R2 server as an administrator either through Remote Desktop (RDP) or directly on the console.
Ensure you can access the DNS console which you can find in Administrative Tools
Step 1: Backup The Source Server
Let’s now export all of our DNS zone files and registry files which we will copy to our new server.
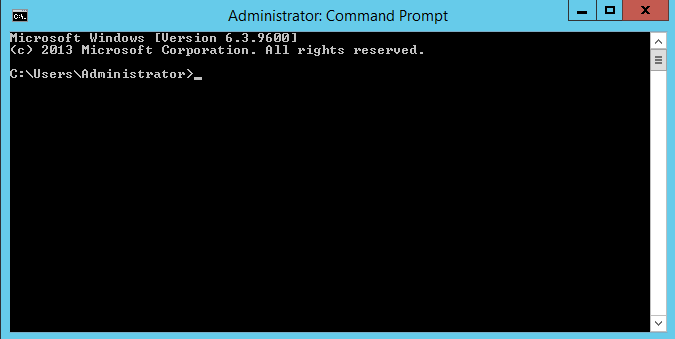
Open up cmd in a elevated mode, you can do this by typing cmd in search, right clicking on cmd and selecting ‘Run as administrator’
First stop the DNS service by running the following command, please note DNS will stop working whilst the service is stopped;
net stop "DNS Server"Next lets export the registry keys we need, for this migration we will export to the following directory
%Windir%\System32\DNSNote: %WINDIR% is your Windows folder, on most systems, this should be c:\windows.
First we will export the following key to a file
HKEY_LOCAL_MACHINE\SYSTEM\CurrentControlSet\Services\DNS\Parameters
reg export HKEY_LOCAL_MACHINE\System\CurrentControlSet\Services\DNS\Parameters %Windir%\System32\DNS\dns-service.regNow lets export the next key to a file
HKEY_LOCAL_MACHINE\SOFTWARE\Microsoft\Windows NT\CurrentVersion\DNS Server
reg export "HKEY_LOCAL_MACHINE\SOFTWARE\Microsoft\Windows NT\CurrentVersion\DNS Server" %Windir%\System32\DNS\dns-software.regNow change into the %Windir%\System32\DNS\ directory and copy all files and folders to a share. The new server will need access to this share so make sure its on the same network. If you wish you can also copy to removable media, such as a USB stick.
Note: you dont need to copy the samples folder as this is not required.
Now we have completed our export, we can start the DNS server to resume service by running the following command:
net start "DNS Server"Step 2: Install The DNS Role
Now we have a backup of the DNS files, we can install the DNS role on the new server.
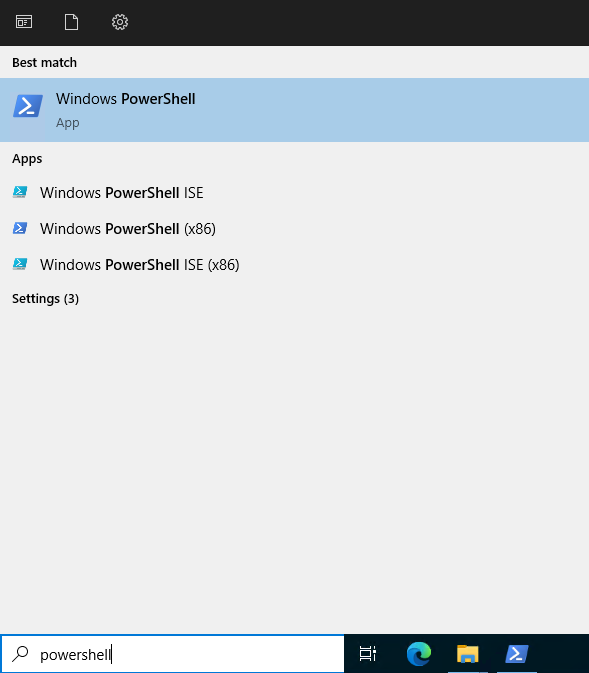
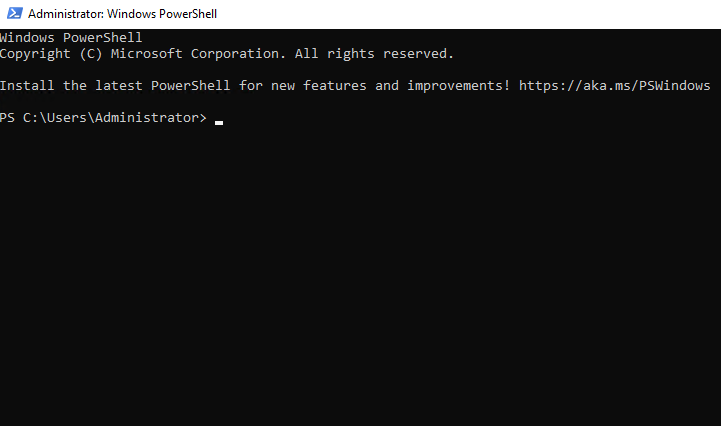
Go to search, and type in Powershell
Now right click on Powershell, and select ‘Run as administrator’
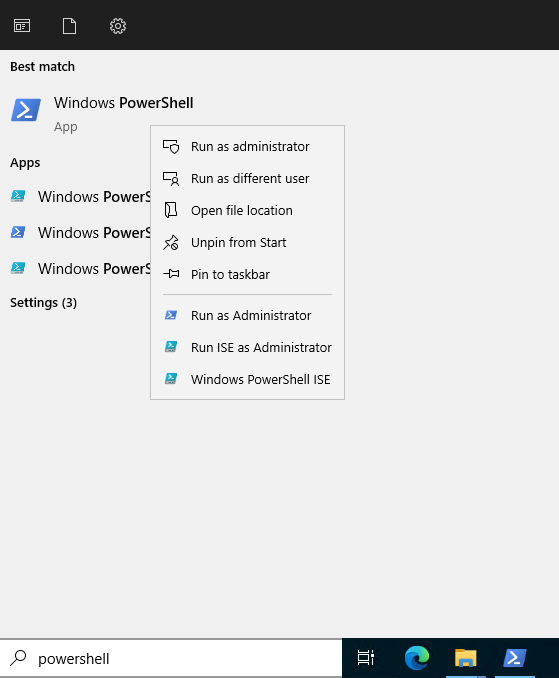
You should now have the Powershell prompt open ready.
Now lets install the DNS role by running the following command;
Install-WindowsFeature -Name DNS -IncludeManagementToolsOnce completed, the DNS role is ready.
Step 3: Import The DNS Files
Now we have the DNS role installed, we can copy the DNS files to the new server and import the registry key information.
Within the Powershell prompt or a cmd prompt, run the following command to stop the DNS service;
net stop "DNS Server"Next, locate the share where you copied the files to in Step 1.
Copy the contents of the DNS folder to the following location
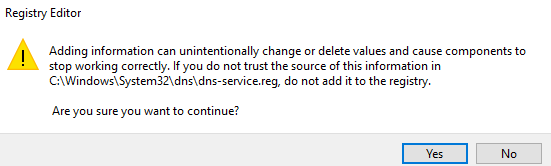
%Windir%\System32\DNSNow Change into %Windir%\System32\DNS folder and double click on both the .reg files to import them into the registry.

Select yes when it prompts for confirmation
Once you have imported both registry files, we can now start the DNS service by running the following command in the Powershell window
net start "DNS Server"You can now open the DNS console on the new server, and view your DNS zones that we have imported.
Step 4: Updating The Primary DNS Server
The main problem with migrating to a new server with a different IP address is that the Zone transfers may fail if the secondary servers IP address is not on the list of allowed servers.
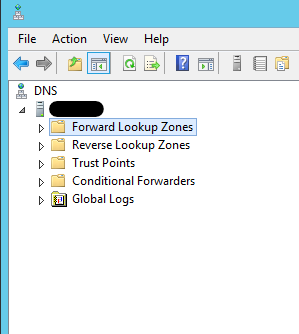
On the primary DNS server, open up the DNS console.
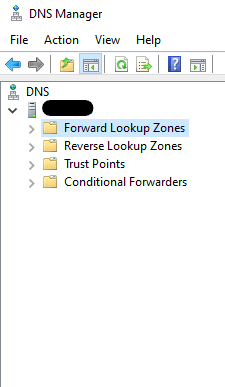
Now open the Forward Lookup Zones, and right click on a domain that use a secondary DNS server and select Properties.
Now click on the Zone Transfers tab
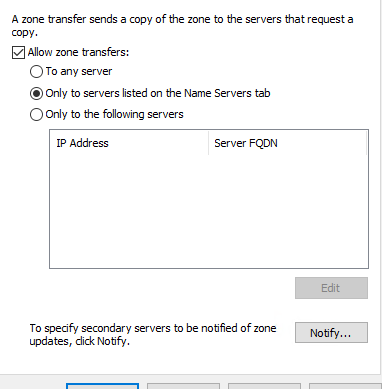
As you can see in the above image, the Zone is set to allow transfers only to servers that are listed on the Name Servers tab.
Our Name server entries on the Name Servers tab still references the old server (192.168.1.50) we are moving away from, this will cause Zone transfers to the new server to fail.
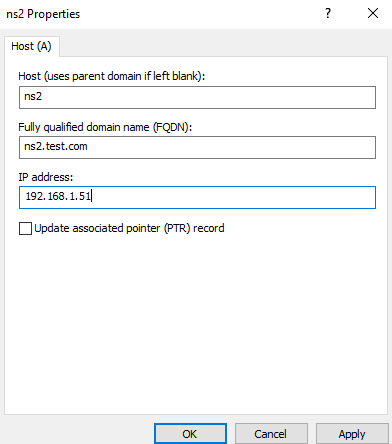
In this scenario, as we are moving to a new DNS server, we would edit the existing A record that points to the old DNS server name.
Our existing A record for the old secondary DNS server is
ns2 Host (A) 192.168.1.50All we need to do to resolve this is edit the A record for ns2 and update it to the IP of the new DNS server on 192.168.1.51
Now our new secondary DNS server is authorised to transfer the zone files from our primary DNS server.
You would need to repeat this for every zone that references its own Name server records in its own domain.
If you have DNS set correctly, each zone should only use one domain for its Name server records, which means you only need to update one zone to affect all hosted zones.
For example, consider we have the following domains on our primary DNS server
live.int
test.com
test2.com
test3.com
live.int is the main zone and has the following A records
ns1   Host (A) 192.168.1.10
ns2   Host (A) 192.168.1.11
We would configure test.com, test2.com and test3.com to use ns1.live.int and ns2.live.int as the domains Name servers. If we have this set, then any DNS migrations will be considerably easier as we only need to update the live.int A records.
Another issue which can prevent zone transfers to the new secondary server is if you have ‘Only to the following servers’ option selected
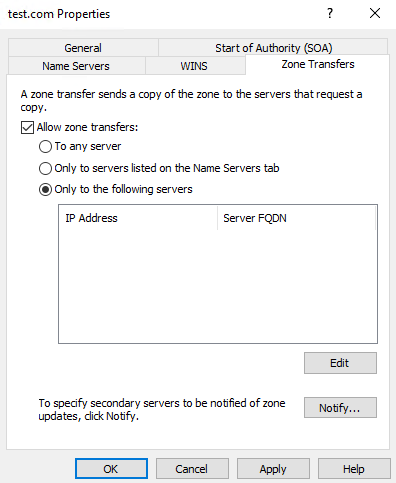
In this scenario, you would have to edit each zone and update the IP address to the new server IP.
Now you have learned how migrate Windows secondary DNS to a new server.
We hope you found this useful, for any further help or interest in our products, you can contact us via our website.