So how do you run your own video conferencing system that can be used over the web and mobile? In this tutorial you will learn how to install Jitsi Meet on CentOS with Docker.
Jitsi Meet is an open-source application that works on a number of operating systems such as CentOS. It is similar to other video conferencing applications like Zoom and Google Meet. It supports most web browsers and mobile devices. With Jitsi Meet you can stream your meeting with your teams and invite other people using a URL.
You must be the change you wish to see in the world.
Mahatma Gandhi
Requirements
- You will need root access to CentOS
- We recommend installing on CentOS 8 or AlmaLinux
For Jitsi Meet, you can install this with Docker on a Virtual Private Server from Sebae, the server will be ready for use within minutes of ordering. You can then follow this tutorial.
Before You Begin
Lets get the dnf package manager up to date, this will ensure the repositorys are working correctly.
dnf updateStep 1: Add the Docker Repository
First of all, we need to add the Docker repo to CentOS or AlmaLinux as it is not included by default, to do this first run the following command:
dnf install yum-utils curl git -yNow, lets add the Docker repo by running the following command:
dnf config-manager --add-repo https://download.docker.com/linux/centos/docker-ce.repo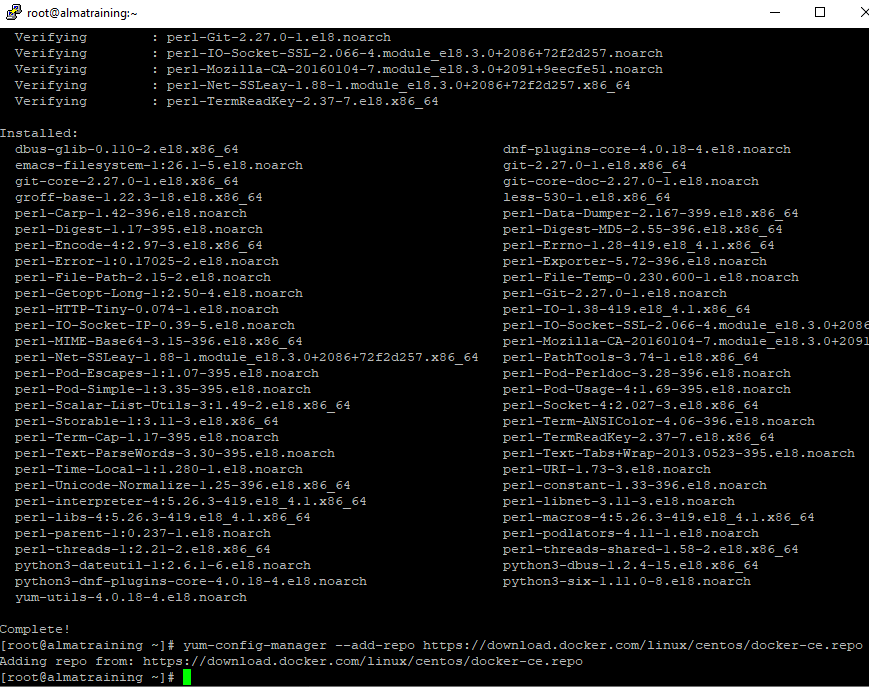
The docker-ce-stable repository is now installed on our server. The repository contains several versions of docker-ce, to view them run the following command:
dnf list docker-ce --showduplicates | sort -rLets install the latest stable version by running the following command:
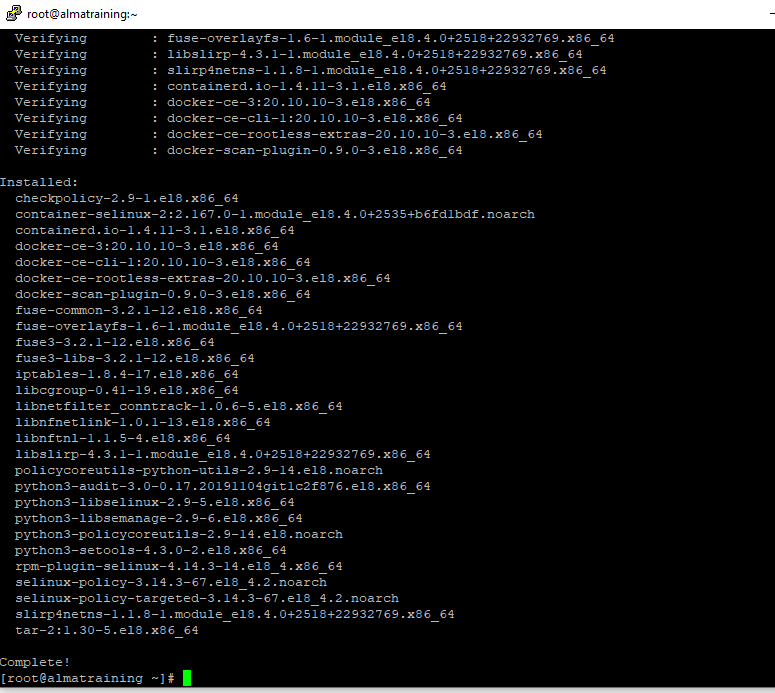
dnf install docker-ceMake sure you enter ‘Y’ to the prompts
With Docker now installed, lets tell systemd to enable Docker and to start on reboot by running the following commands:
systemctl enable docker
systemctl start docker
Step 2: Install Docker Compose
Now we need to install the Docker compose into our CentOS or AlmaLinux installation, to do this, run the following commands:
curl -L "https://github.com/docker/compose/releases/download/1.29.2/docker-compose-$(uname -s)-$(uname -m)" -o /usr/local/bin/docker-composeNext, set the permissions on the downloaded file by running the following command:
chmod +x /usr/local/bin/docker-composeNow lets verify the installed version of Docker compose by running the following command:
docker-compose --versionThe output should be similar to this:
docker-compose version 1.29.2, build 5becea4c
Step 3: Install Jitsi Meet on CentOS
Since the Jitsi Meet package isnt available on CentOS or AlmaLinux, we instead install it using Docker. So lets install Jitsi Meet on CentOS.
First download Jitsi Meet for Docker by running the following command:
git clone https://github.com/jitsi/docker-jitsi-meetNow lets create the directories needed for Jitsi Meet by running the following command:
mkdir -p ~/.jitsi-meet-cfg/{web/letsencrypt,transcripts,prosody,jicofo,jvb}change into the directory:
cd docker-jitsi-meetNow copy the example environment file:
cp env.example .envNow lets build the Jitsi Meet Docker image by running the following command:
docker-compose up -d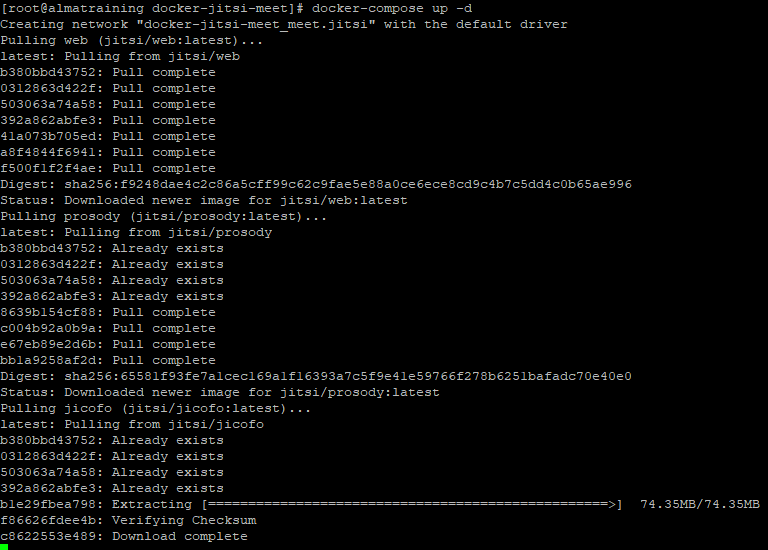
After the build is complete, Jitsi Meet is now installed.
Step 4: Configure Firewall Rules for Jitsi Meet
If you are running a firewall, then you will need to open the ports to allow the traffic into the Jitsi Meet Server. You can skip this step if you are not running a firewall.
Add the following rules by running the following commands:
firewall-cmd --zone=public --add-port=80/tcp --permanent
firewall-cmd --zone=public --add-port=443/tcp --permanent
firewall-cmd --zone=public --add-port=8443/tcp --permanent
firewall-cmd --zone=public --add-port=4443/tcp --permanent
firewall-cmd --zone=public --add-port=10000/udp --permanent
firewall-cmd --reload
Step 5: Test Jitsi Meet On CentOS
Now open your browser, and go to the URL of your server using the following format:
https://your-ip-address:8443If the install was successful you should see the following web page
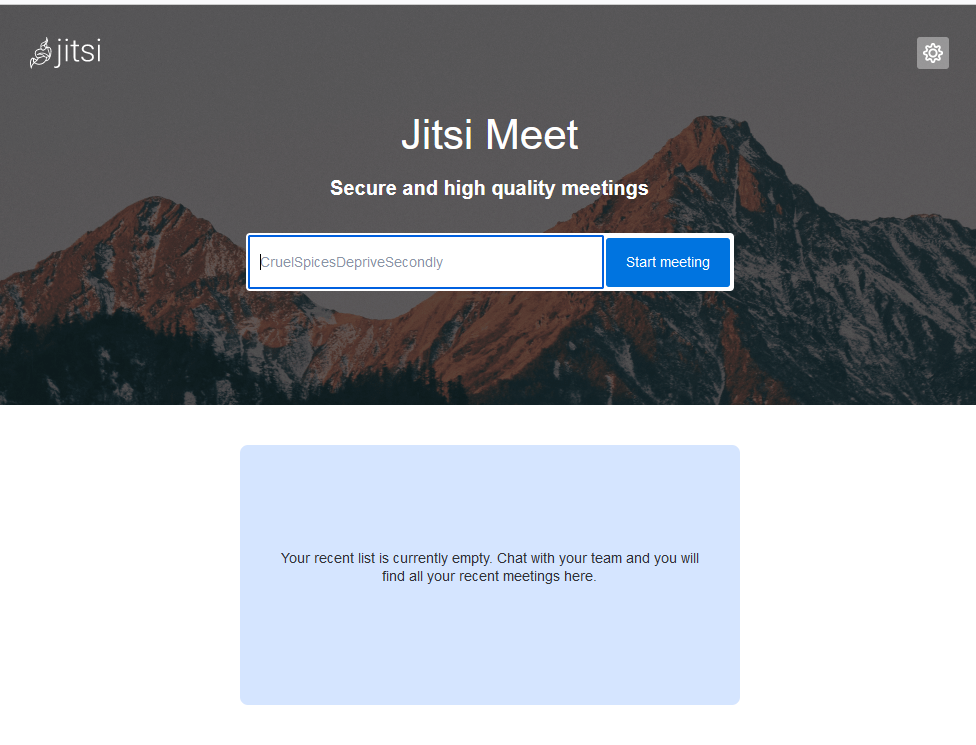
You will now be able to start the meeting. You will be prompted by the browser to use your microphone and camera.
Thats is, you have now learned how to install Jitsi Meet on CentOS and AlmaLinux.
For more information, you can visit the official Jitsi Meet website.